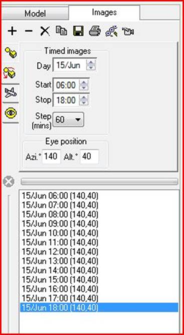
Clicking on the “Images” tab will bring up the images window enabling the creation and selection of the images.
At the top of this tab is a toolbar (the Image toolbar) –
|
|
Add images to the list.
|
|
|
Delete the selected images from the list.
|
|
|
Delete all the images.
|
|
|
Copy the current image to the clipboard.
|
|
|
Save the images.
|
|
|
Print the image.
|
|
|
Zoom all the images to the current setting.
|
|
|
Create a movie (AVI) of the images
|
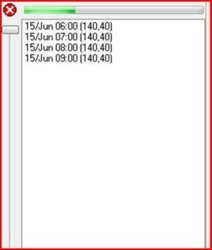
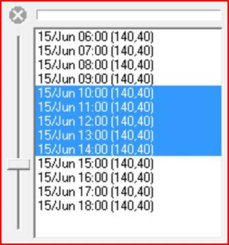
We then have the image generation tabs, followed by the “Progress Bar” which is active when a series of images is being generated, followed by the list of images. The slider to the left of the list can be used to scroll through the images.
The

“
Cancel” button can be used to interrupt the generation of images.
The four image tabs are described in the following sections and can also be activated from the “Image” menu.
The “Create New Image(s)”, “Delete Image(s)” and “Delete All Images” can also be activated from the “Image” menu rather than the toolbar.
Copy an Image
Select the image required from the image list.
Click on the “
Copy”

button on the “
Image List” toolbar.
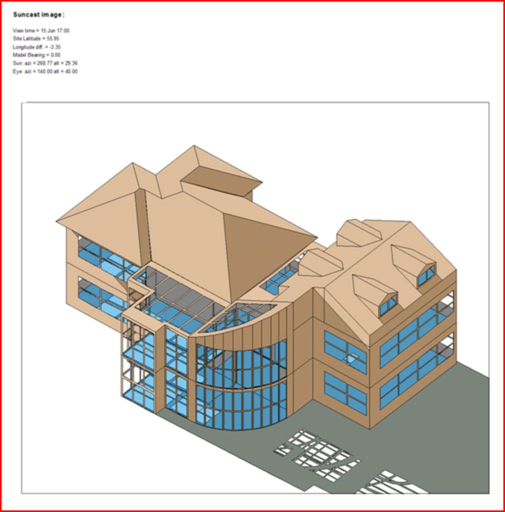
The image is now in the system clipboard and can be pasted into most applications.
When pasted, details of the image taken are included, giving: view time, latitude, longitude, model bearing, and sun and eye azimuths and altitudes, as shown below –
Save Image(s)
Select the image(s) required from the image list.
Click the “
Save” icon on the image list toolbar

.
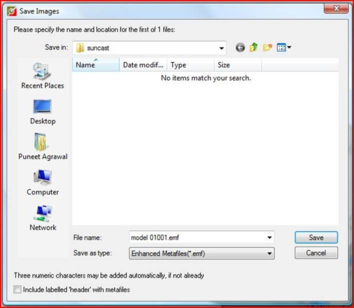
The following dialogue window will appear:
Here you can choose to save the images that have been selected in the image list. The images can have header information (as seen on printed output) by checking the box at the bottom of the window.
Zoom All Images
If you have zoomed in (or out) on a particular image and want all the other images in the sequence you have created to have the same zoom settings, then click on the “
Apply zoom to all other images”

button.
Create AVI Movie
Clicking on the “
Create video”

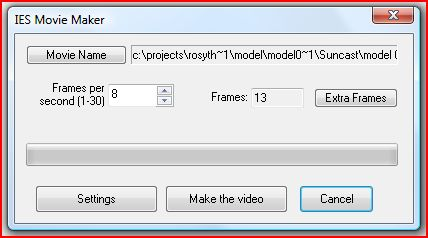
button pops-up the following window -
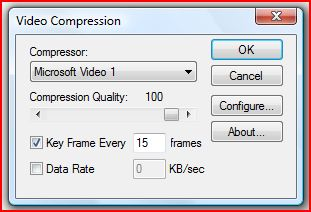
Make the required adjustments to the parameters and click the “Make the video” button, this pops-up the following window -
Once again make the required adjustments to the parameters and click the “OK” button to create the AVI.