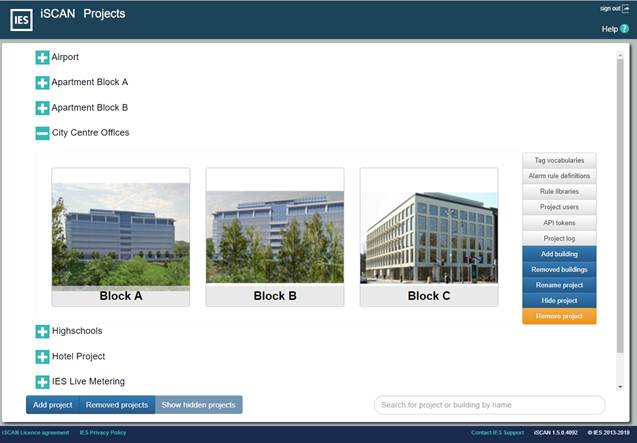
After logging in you will be brought to your “Projects” page. This displays the list of projects that you have either created or are a member of. The projects are listed in alphabetical order of their name.
A project is a group/portfolio of buildings. The creator of a project is the default administrator of the project and has full control to add or remove buildings and users.
There are no set rules on how a project should be structured but the following questions should be considered.
- Who should have access? A user added to a project will have access to all buildings in that project.
- What permission level should each user have for the buildings?
- Who will be the administrators? Administrators can create or remove anything in a project, including the project itself.
Figure3iSCAN Projects Page
The toolbar at the top provides a number of useful links.
· Hovering over the IES logo shows links to
o IES Home – the IESVE.com website
o FAQs – a list of frequently asked questions about using iSCAN
At the bottom left of the Projects page are two buttons
Add Project
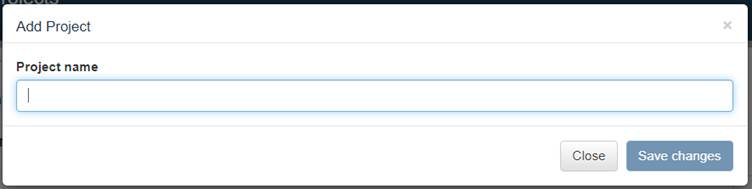
Shows a dialog to add a new project. You can add a project by typing the name of your new project in the text box and clicking on “Save changes”. To cancel click the “Close” or “x” in the dialog box.
Figure4Add Project
Removed Projects
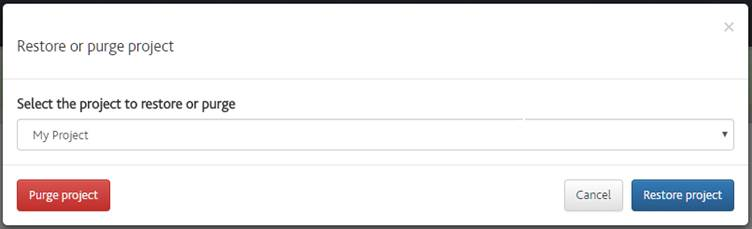
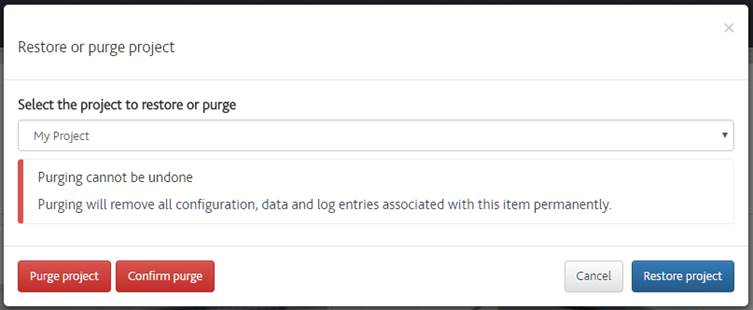
Shows a dialog to manage projects that have been removed. In the dialog you can select a removed project and either restore the project using the “Restore project” button or you can purge the project using the “Purge project button.
Restoring the project will restore the project to your list of projects. Purging the project permanently removes the project and all associated data or files. After clicking the “Purge project” button a further confirmation is shown. You can either confirm this by clicking “Confirm purge” or to cancel click the “Cancel” or “x” in the dialog box.
Figure5Removed Projects
Figure 6
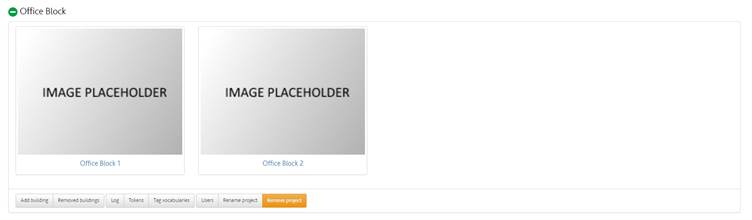
Clicking on the name of a project will expand that project showing the buildings contained in the project and the available controls/navigation buttons for the project. To collapse the project again you can click on the project name.
Figure 7
When a project is expanded you will see the following
Buildings
The list of buildings are shown with the building image and the name of the building below it. The image can be changed on the Building details page.
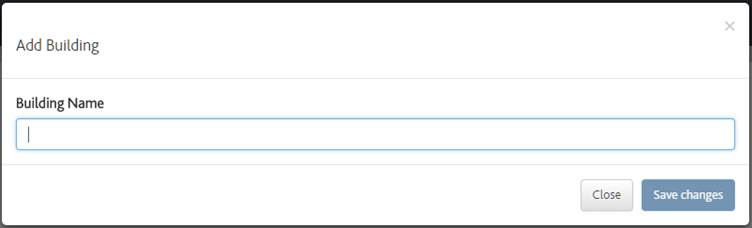
Add building
Shows a dialog to add a new building. You can add a building by typing the name of your new building in the text box and clicking on “Save changes”. To cancel click the “Close” or “x” in the dialog box.
Figure 8
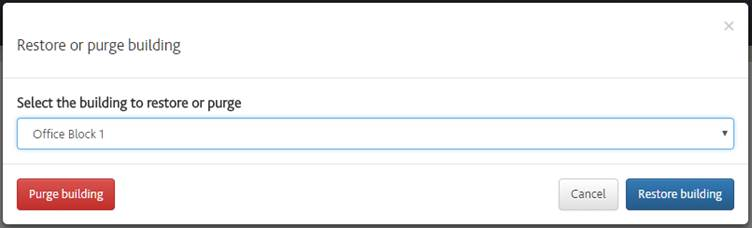
Removed buildings
Shows a dialog to manage buildings that have been removed. In the dialog you can select a removed building and either restore the building using the “Restore building” button or you can purge the building using the “Purge building” button.
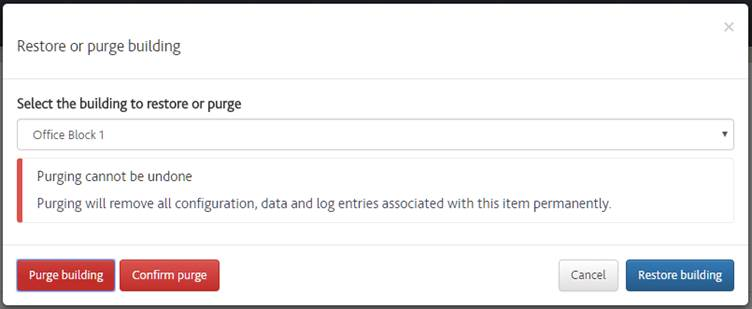
Restoring the building will restore the building to your list of buildings. Purging the building permanently removes the building and all associated data or files. After clicking the “Purge building” button a further confirmation is shown. You can either confirm this by clicking “Confirm purge” or to cancel click the “Cancel” or “x” in the dialog box.
Figure 9
Figure 10
Log
Opens the Project log page
Tokens
Opens the Project tokens page
Tag vocabularies
Opens the Tag vocabularies page
Users
Opens the Project users page
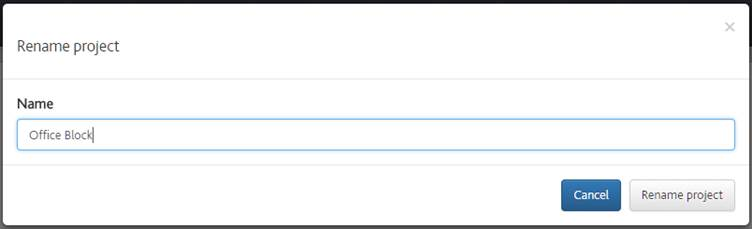
Rename project
Shows a dialog to rename your project. You can rename a project by typing the new name of your project in the text box and clicking on “Rename project” button. To cancel click the “Close” or “x” in the dialog box.
Figure 11
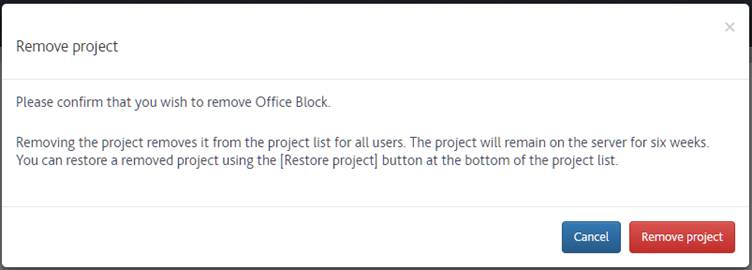
Remove project
Shows a dialog to remove the project for all users of the project. The project will be stored for 6 weeks and can be restored using the “Restore project” button on the Projects page. After 6 weeks the project will be permanently removed from the server.
To remove the project click on the “Remove project” button. To cancel click the “Cancel” button or “x” in the dialog box.