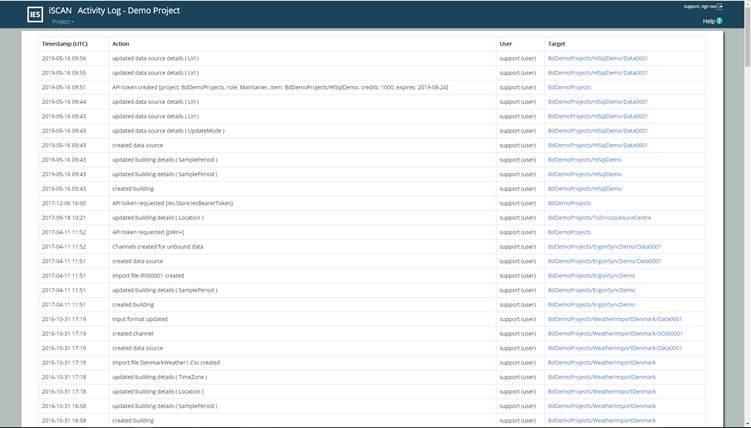
The Project log page provides a record of all actions carried out in the project for all buildings. To see actions for a specific building you can use the building log
Figure 13
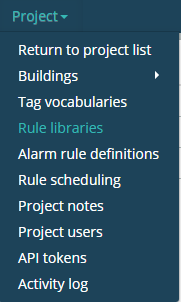
The toolbar at the top provides links to the items described in the main toolbar and additional links relating to the project. Hovering over or clicking on the “Project” link will show a list of Project related links. The current page will be highlighted green
Figure 14
Return to project list
Opens the Project list page.
Buildings
Hover over to see a list of buildings in the project. Click on a building name to open that building.
Project Users
Opens the Project users page.
Tag Vocabularies
Opens the Tag Vocabularies page.
API Tokens
Opens the Project tokens page.
Project Log
Opens the project log.
The white area is the page contents. The top left shows the page name and the project name.
Below that is the recorded log. Each row is a record in the log and details are shown for;
Timestamp (UTC)
The UTC timestamp of the record. Note this is may not be your local time.
Action
A description of the action carried out
User
The user who carried out the action
Target
A link to the item in SCAN to which the action was done.
As the log is limited to show 200 actions there are a number of controls to navigate the Project log. These are located at the bottom of the page.
Show automated actions (checkbox)
If this box is checked you will see automated actions in the log also. Automated actions include but are not limited to: SCAN-robot actions, automated imports, weather polling, API requests, etc…
By default, automated actions are not shown.
Latest
Clicking will bring you to the first page of the log and the most recent
Newer
Clicking will step one page closer to the most recent actions
Page number
This shows the current page number being viewed. You can also type in a page number and “Enter” on your keyboard to go directly to a page
Older
Clicking will step one page of older actions
3.2 Project Users
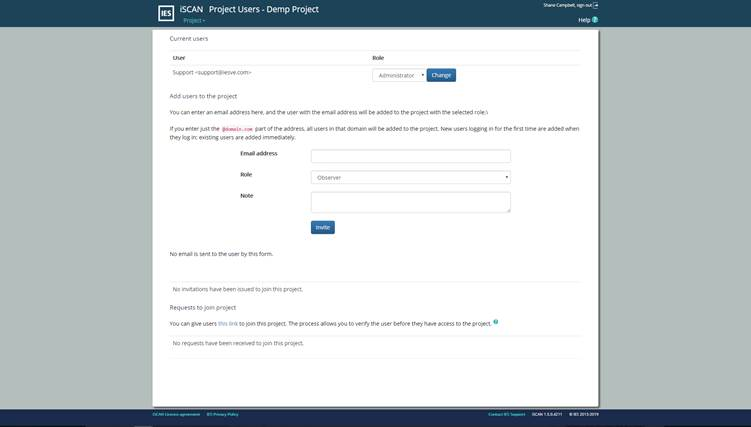
Access to a project is controlled by the Project Users page. The permission you have in a project is controlled by the role you have in that project.
Administrator role is required to access the Project Users page
Figure 15
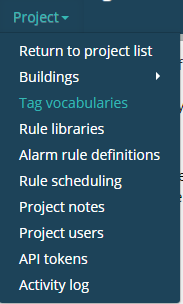
The toolbar at the top provides links to the items described in the main toolbar and additional links relating to the project. Hovering over or clicking on the “Project” link will show a list of Project related links. The current page will be highlighted green
Figure 16
Return to project list
Opens the Project list page.
Buildings
Hover over to see a list of buildings in the project. Click on a building name to open that building.
Project Users
Opens the Project users page.
Tag Vocabularies
Opens the Tag Vocabularies page.
API Tokens
Opens the Project tokens page.
Project Log
Opens the project log.
The white area is the page contents. The top left shows the page name and the project name.
A list of the current users who have roles in the project is shown in the table under the heading “Current users”. Each user in the project is shown in a new row. The table consists of two columns.
User
The email address of the user
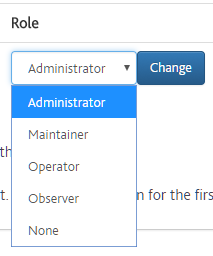
Role
The role that the user holds in the project. The users role can be changed by selecting the dropdown box, clicking on the new role for the user and clicking “Change”