Parametric tool - Actions
The Parametric Tool actions menu / pane has several options:
o Apply run # to model:
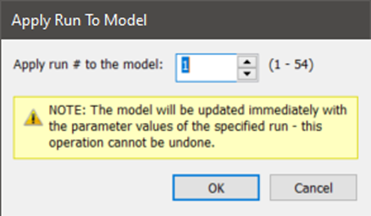
Once the parametric analysis is complete the user has the option to pick a parametric run by ID number and apply the parametric changes back to the current model. The Parametric Tool uses a find and replace mechanism for applying changes to the model. With exception of glazing, if the parameters do not exist in the model the “Applied run” parameters values are not applied.
The dialog contains a warning that this cannot be undone (it is a good idea to save an archive before editing a model).
Figure: Apply run to model sub-dialog.
o Import:
This option allows the user to import a parametric study, exported from another project as a PLP file, with all referenced model data to the current project. Note that if ASP files (ApHVAC networks) are part of the parametric study the room assignments are not saved and will need to be assigned in the network and saved before the ASP files can be utilised in the target project.
o Export:
A parametric study can be exported with all referenced model data so that it can be imported into another project. This option opens a file dialog and by default saves a .PLP file in the project ‘Studies’ folder.
o Configure tabs and columns:
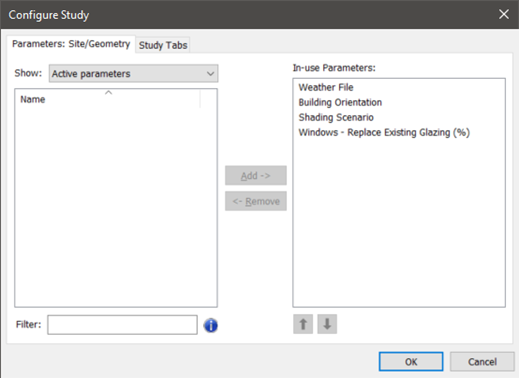
The dialog Parameters tab allows the user to set what parameters are active on the currently selected category tab in the Parametric dialog.
On the left-hand pane select a parameter(s) and click Add-> to add it to the In-use parameters pane.
The show combo-box filters all parameters into categories for easier selection; however, any parameter can be added to any tab by the user.
The filter box allows the user to filter the parameters by string / sub-string.
The up/down arrows can be used to organise the order of the in-use parameters shown in the tab.
Figure: Configure tabs and columns sub-dialog – parameters.
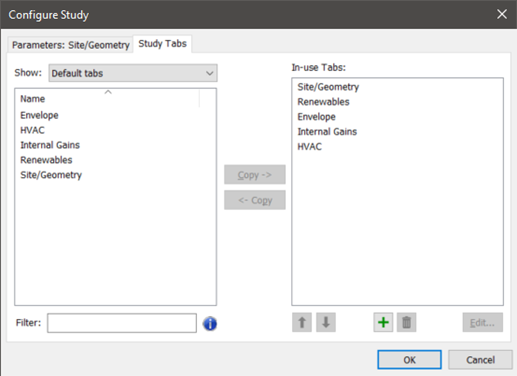
The dialog Study tabs tab allows the user to set what category tabs are active in the Parametric dialog.
The parametric tool includes a set of default tabs that match the parameter categories however, the user can define their own tabs and populate the tabs with parameters of their own choice.
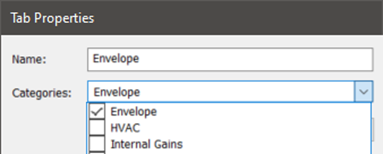
Use the + button to add user-defined tabs, the delete button to remove the selected tabs and the edit button to edit the tab name and what parameter categories should be associated with the tab.
The up/down arrows can be used to organise the order of the in-use tabs shown in the main dialog.
Figure: Configure tabs and columns sub-dialog – tabs.
Figure: Configure tabs and columns sub-dialog – tabs.