FLUCS shares certain features of its interface with some other programs in the IES suite of software. These features are described here:
Common Controls
FLUCS uses common controls that are standard in many Microsoft Windows applications, such as text boxes, list boxes, combo boxes, scrollbars, grids, option buttons, check buttons, command buttons, menus and toolbars.
These controls are designed for efficient use with a mouse, although they may also be used from the keyboard by pressing tab keys, arrow keys etc.
Main Application Window
When FLUCS is started you will see a single main application window.
This is designed to fit onto the smallest-resolution screen (640x480) commonly available today. It is not currently possible to resize or maximise this window to make better use of higher-resolution screens.
This window contains the following elements:
· A title bar at the top of the window - this shows you the name of the application; when a project is loaded it will also show the pathname of the current project (i.e. the name of the project file including the drive letter and all of the directories (folders) in the path from the root directory to the directory where the project is stored).
· A menu bar below the title bar - this contains pull-down menus that you can use to select operations to perform in FLUCS. Some pull-down menus are disabled at times to prevent inappropriate operations such as performing calculations before a project is loaded.
The available pull-down menus are:
· File
· Edit
· View
· Calculations
· Review
· Options
· Help
See MENUS for further details.
· A tool bar below the menu bar - this contains icons that you can use to select operations to perform in FLUCS. Usually these are just shortcuts to an operation that is also available in the pull-down menus.
See TOOLBAR for further details.
· A tabbed dialogue - this takes up the main part of the application window and is used to display the data for the currently loaded project. If no project is loaded this area is disabled; when a project is loaded it is enabled. The tabs are used to organise the data into logical groupings. Usually each tab corresponds to a separate data file in the project but not always. The data on each tab can be modified by using the various controls provided, as appropriate for each tab in each application. The data can be checked either automatically when required or at your request using the pull-down menu option or the icon on the tool bar. If the data depends on data in other tabs these other tabs will be checked first. Before the data in a tab is checked there is no picture next to the tab caption. When the data in a tab has passed the checks with only warnings then a green tick is placed there; if any errors are produced then a red cross is placed instead. You may use the 'Error & Warnings' menu options or buttons to review the errors and warnings associated with any of the tabs.
Other Windows
As you request various options, various other windows (forms) will open to allow you to perform the requested tasks.
Most windows will have buttons such as OK, Cancel, or Close for closing a window with or without completing the task for which it was opened.
Usually a window will be modal, that is, as long as it is open you cannot perform any actions in other windows (apart from windows opened as a result of an action in the window).
Sometimes a window will be non-modal, so that you may leave it open while performing actions in other windows. The error and warning review window is an example of such non-modal behaviour - this is so that you may use it to locate an error in the data and then correct the error while leaving the list of errors and warnings on the screen.
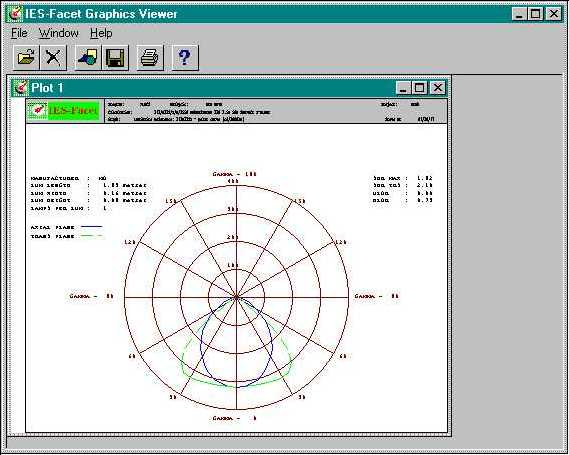
Graphics Viewer
The Graphics Viewer opens when you request an option that produces graphics.
It is a multiple-document window that can contain any number of sub-windows, each showing an individual drawing. Each time a graphical option is requested the drawing is shown in a new sub-window.
The graphics viewer or any of its sub-windows can be minimised, maximised, resized, restored, or closed using standard Windows methods such as dragging or using the window control menu or buttons.
Drawings can be printed on your printer or saved to disk as a bitmap file or as an IES plot file.
Saved bitmap files can be used anywhere you would normally use a bitmap, such as in reports.
Bitmap files or IES plot files may be loaded into the Graphics Viewer. For example, files from previous runs may be loaded for comparison purposes.
Menus
Three pull-down menus are available:
· The File menu has options to close plots, to save or load bitmaps or IES plotfiles, to print plots and to exit. The print option will scale down to fit the selected plotter if the intended size of the plot would be too large for the plotter; otherwise it will ask you whether to scale the plot up to fit the plotter or leave it at its intended size.
· The Window menu allows you to resize and reposition the sub-windows as cascaded windows or tiled windows. It also allows you to select from a list of all the sub-windows. If more than 9 sub-windows are present an option entitled More Windows is available to bring up a scrolling list of all the windows from which you may select a window.
· The Help menu has options to list the help contents, to search for a help topic or to see a more information about the Graphics Viewer.
(The File menu is also available by right-clicking a subwindow.)