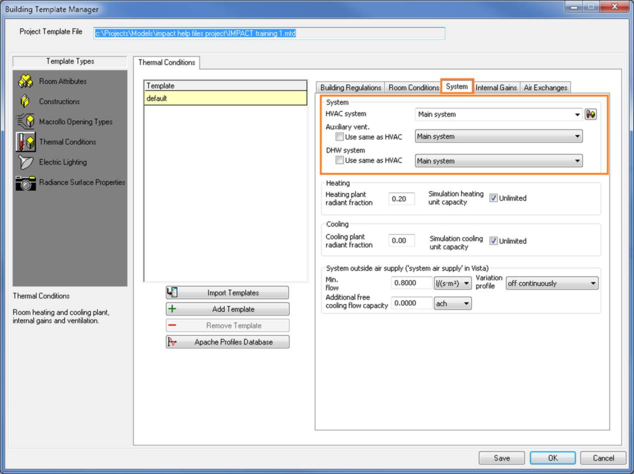
Assign systems
Systems can be assigned to the model either on a whole building basis, or to zones that have been created via the room grouping schemes. To find information on setting up room grouping schemes please refer to the ModelIT User Guide.
The building template manager dialog will then pop up:
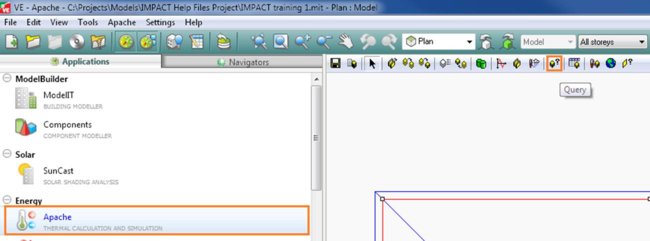
Systems can also be assigned at room level by selecting the individual room, then select the room query button (see image below)
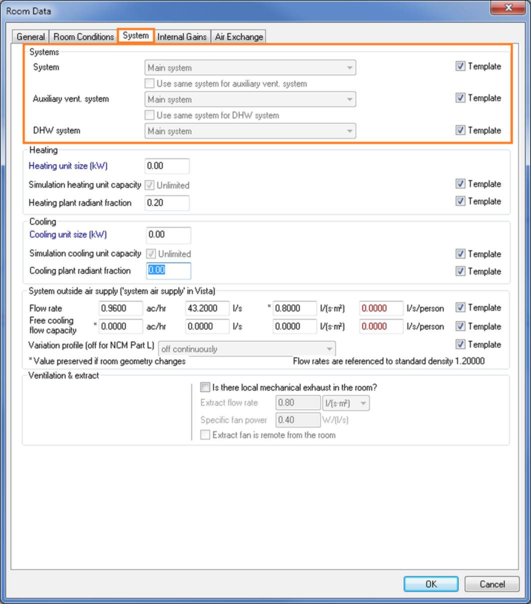
Then the Space Data dialog will pop up:
Setup lighting
This is a necessary step if element code “161 Area served by lighting type (int gain) ” is to be used.
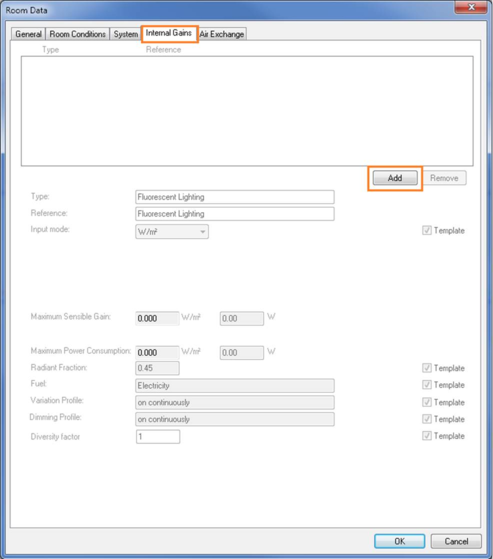
To add lighting to a room, first select a room of interest, then follow the following steps:
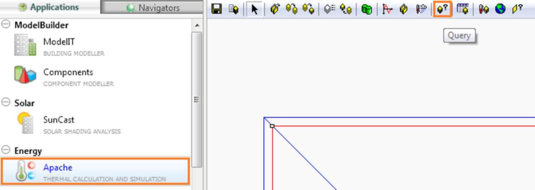
Click on the query toolbar button under apache.
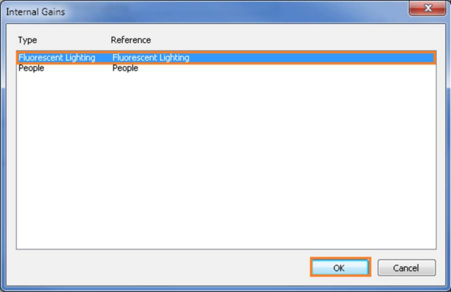
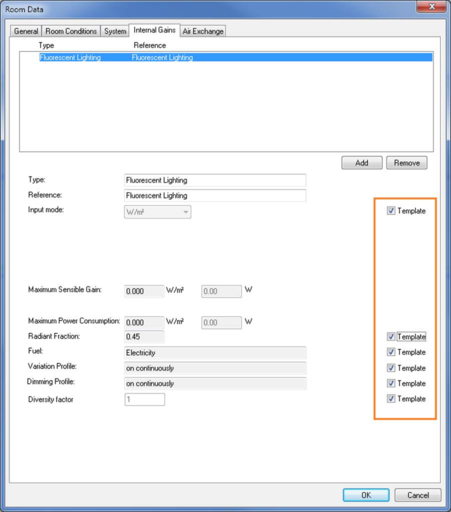
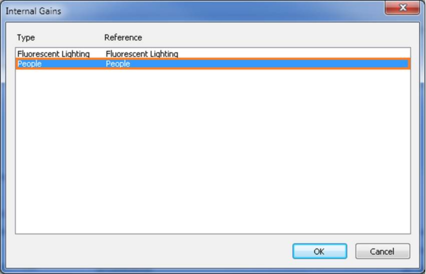
Then select the “Internal Gains” tab and click “add”
Then unclick the Template tick box to modify relevant properties.
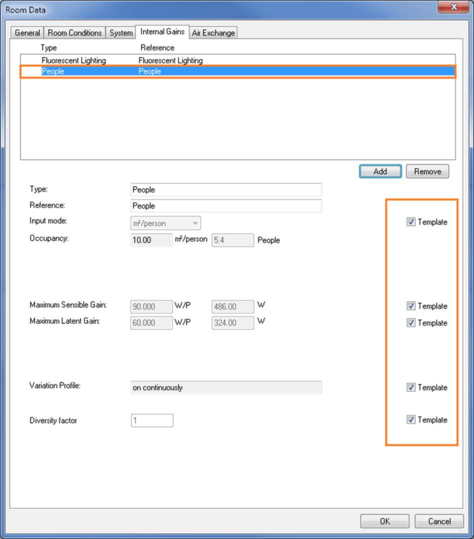
Set Occupancy
This is a necessary step if element code “201. Occupant no. (max) ” is to be used.
To add occupants to a room, first select a room of interest; then follow steps below:
Click on the query toolbar button under apache.
Then select the “Internal Gains” tab and click “add”
Then unclick the Template tick box to modify relevant properties.
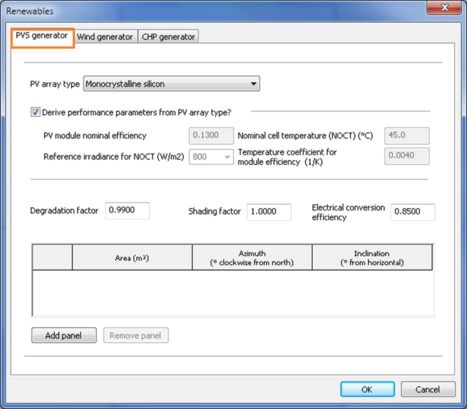
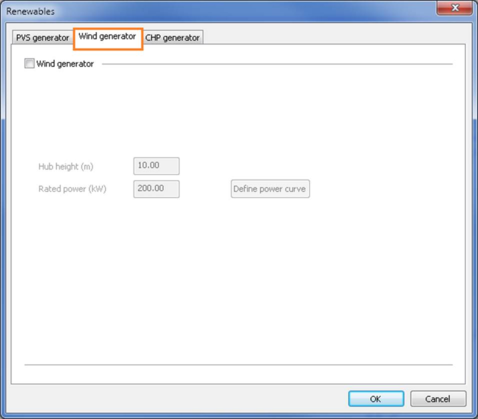
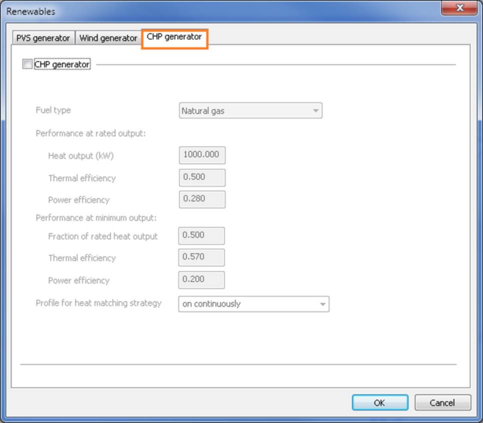
Setup renewables
If the building utilizes renewable energy systems, then the following steps are required and element codes need to be included;
170. PVs by type and area
171. Wind turbine by kW
172. CHP by kWt
Click on the Renewables toolbar button in apache.
To define a PVsystem , use the first tab.
To define a wind generator , use the second tab.
To define a CHP system, use the third tab.
Setup NIA
This is a necessary step if element code “7. NIA” is to be used.
NIA is GIFA ( gross internal floor area ) or GIA (floor area within internal face of external walls) less the following (refer to RICS measuring practice p16):
1 Common (circulation / halls / entrances / atria / toilets / cleaners / stairs)
2 Plantrooms, lift rooms, lift shafts
3 Areas with < 1.5m headroom
4 Riser and small void spaces
5 Vehicle parking areas
6 Internal walls, columns
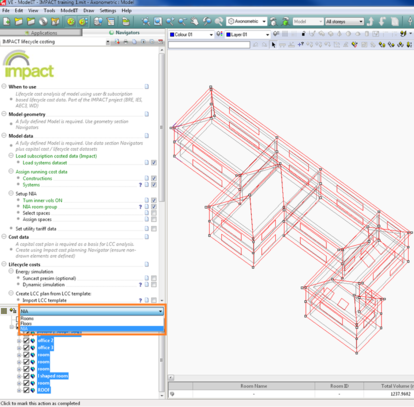
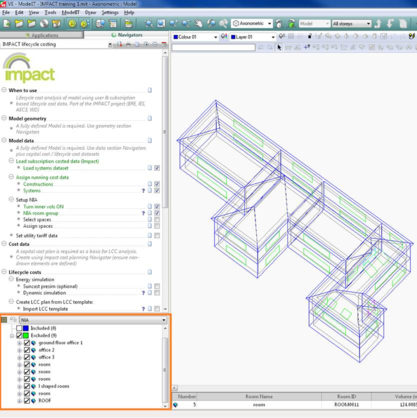
Each space category is recognized by the software through “NIA” room groups except for “columns” as they will be set up on the non-thermal dialog through the LCA module. The user will need to set up a room grouping scheme called “NIA” with the following groups: "Included", and optionally “Excluded”. Only rooms in the group Included in NIA are included in the floor area count. However, if a room group “NIA” is not available then all rooms are included in the NIA group. You need also to turn on the inner volumes which will count for internal wall area.
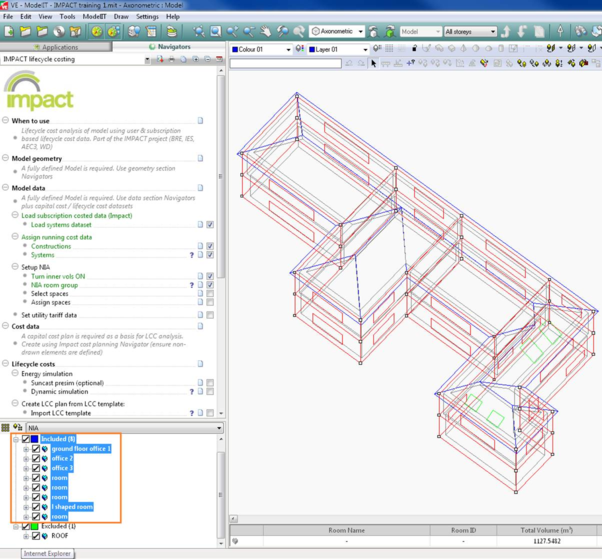
After setting up the NIA room group, you should see “NIA” under the room group dropdown list in the browser dialog at the bottom left corner of VE:
Selecting the NIA group displays:
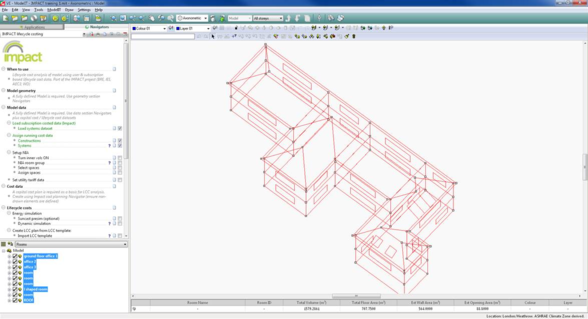
Before turning on the inner volume:
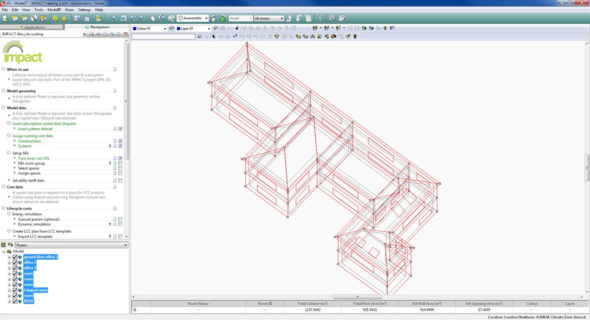
After turning on the inner volume:
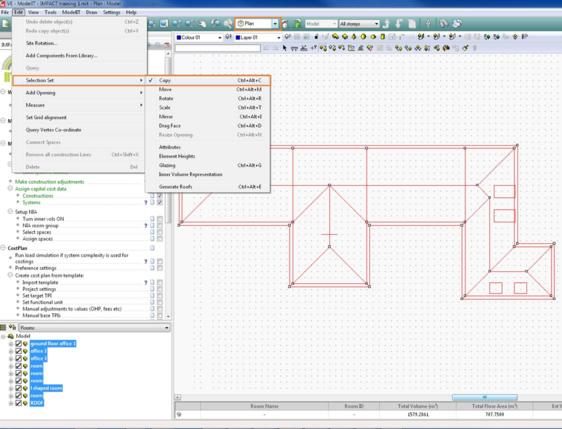
If you have problems of turning on the inner volume, the following steps might help:
Under “Plan” view, selects the whole model. Then select Edit- Selection Set - Copy. See the orange highlighted part in the following image.
Then press CTRL and left click the mouse to drag the whole model down.
Then selects the old model and press the Delete button on your keyboard.
Then press the inner volume toolbar button to turn it on.