View Images tab
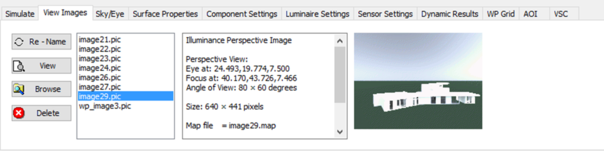
In this section we can select from the list of images -
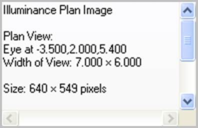
When a picture is selected and the “Show Thumbnail” option is active the image is shown. Alternatively the dialog in the list box changes to show the picture information (note that for an illuminance image using the CIE Overcast sky the “Ground Ambient” value is shown (this is the 100% DF value).
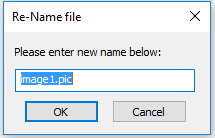
The “Re-name” button pops-up a window to allow the user to rename the selected picture.
The “Delete” button pops-up a window to confirm the deletion of the selected picture. Any associated files are also deleted e.g. batch file, glare file. The “Browse” button allows the user to select images from other project directories. The “View” button displays the selected picture using the “Picture viewing” module, which can also be run as a separate program. The functions available in the image viewing window are explained in the section “Image Display”.
By clicking anywhere on an image the luminance/illuminance at that point is displayed. These values can be removed by right clicking the value. Luminance/illuminance levels can be shown as contours to aid analysis of the image.
Luminance images can be used to analyse glare sources.
Sky/Eye Tab
On this tab we have two sections:
· Sky Time/Date
· View
Sky Time/Date
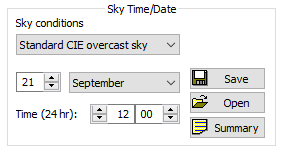
This allows the user to select the required date, time and sky conditions.
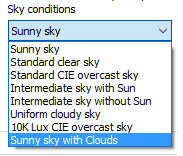
The following standard sky conditions are available:
The most frequently used sky conditions are:
· Sunny sky - for glare analysis
· Standard CIE overcast sky - for Lux levels and Daylight Factors
Eye View Position
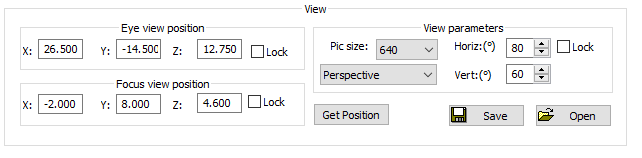
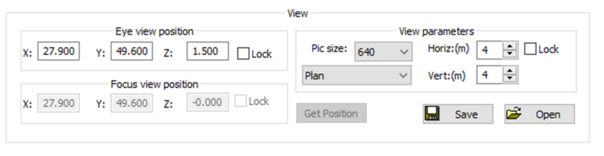
This allows the user to select the view type, eye and focus positions, picture size and horizontal and vertical angles/sizes.
The default view is to add 10% to the bounding box of the model and set the focus position to the centre of the model. If a zone is selected, then the eye and focus position change to inside the zone. The “Lock” selectors can be used to maintain a fixed eye/focus position.
The “Eye view position” is the point from which the image is taken (i.e. where a camera would be placed) and the “Focus view position” sets the point towards which the camera would be directed. They are easier to set up when the model is in plan view.
The “Horiz(°)” and “Vert (°)“ are the angles of which the images are taken – they can be adjust manually or alternatively each view option has its own default angles.
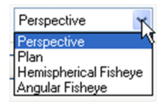
There are four view options -
· Perspective
· Plan
· Hemispherical Fish-eye
· Angular Fish-eye
The "Hemispherical Fish-eye" view can have a maximum angle of 180° and the "Angular Fish-eye" up to 360°, for both these options a single angle is defined.
A “Perspective” view allows the user to define both the eye and the focus positions. This can be done by either double right-clicking the mouse on the new Eye/Focus position and choosing Set Eye/Focus Position option or by changing the x, y and z values.
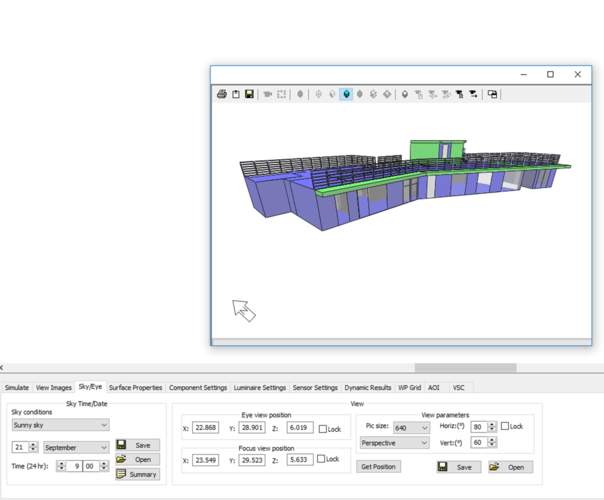
The ‘Get Position’ button displays the building in Model Viewer mode and allows selecting the required position. You can move around the model in that view using W (zoom in), S (zoom out), A (left), D (right), E (up) and C (down) keys on your keyboard. Once the required view is set up just close the Model Viewer mode.
If a "Plan" view is selected then the window changes:
The “Focus Position” data is no longer required. Also note that the horizontal and vertical dimensions change from angles to metres (i.e. the width and height of the image). The default is to add 0.5m to the bounds of the room or model; if the room has a complex shape the generated image will include other zone(s).
The “Save view file” button allows the user to save the currently displayed “View” options, i.e. view position and parameters. The “Open view file” button allows us to retrieve the view previously saved.
The “Save sky file” button allows the user to save the currently displayed “Sky” options. The “Open sky file” button allows us to retrieve the values for previously saved data.
By default the sky file has an automatically generated name of the following format: “Sep21_1200_cie.sky”, this has a 3 character mnemonic for the month, the day of the month, the time and the sky condition used. When an image is created this information is stored in the image header and displayed in the image summary information. See View Images.
The mnemonics used for the different sky conditions are as follows:
· ss = sunny sky.
· cie = CIE overcast sky.
· cs = clear sky.
· u = uniform sky.
· i = intermediate sky without sun.
· is = intermediate sky with sun.
· ssC = sunny sky with clouds