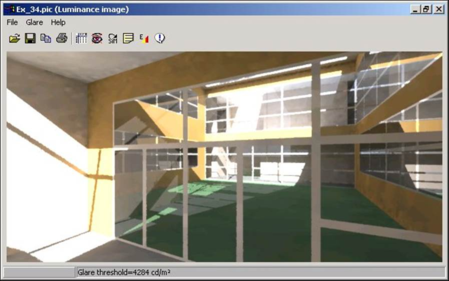
The pop-up window is as follows for a luminance image:
When we load a luminance image, we are presented with the
Luminance Toolbar and also the Luminance Menu.
Note luminance allows us to analyse glare.
Luminance Toolbar

Open

Save

Copy

Print

Glare Indices

Analyse Glare

Re-Analyse Glare

Picture Summary

Adjust Exposure

Tooltip Settings
Luminance Menu
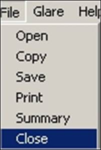
File Menu
The file menu consists of the items below:
· Open
· Copy
· Save
· Print
· Summary
· Close
Open File (Applies to Both Luminance and Illuminance Toolbars)
This option enables the user to open any image that is in the radiance picture (*.pic) format. When selected, the user will be prompted to select the picture file that they wish to open using a common windows file open dialogue.
Copy (Applies to Both Luminance and Illuminance Toolbars)
Copies the current image to the clipboard. Once copied, this can then be pasted from the clipboard.
Save File (Applies to Both Luminance and Illuminance Toolbars)
This option allows the user to save the current image in various formats. Currently the user can save the file in both bitmap (*.bmp) and jpeg (*.jpg). The benefit of this is that it allows the user to save images and then easily import them into their documents for reporting purposes.
Print (Applies to Both Luminance and Illuminance Toolbars)
Prints the current image.
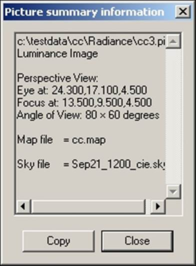
Summary
Displays summary information for current image.
Close (Applies to Both Luminance and Illuminance Toolbars)
Closes the module
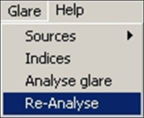
Glare Menu
The Glare menu consists of the items below:
· Sources
· Indices
· Analyse glare
· Re-Analyse
Sources
Pops up a sub sub-menu allowing the user to “show” or “hide” the sources.
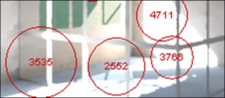
This allows the glare sources to be displayed or not. These sources are displayed as a red circle with the intensity of the source at the centre (luminance = nits).
Indices
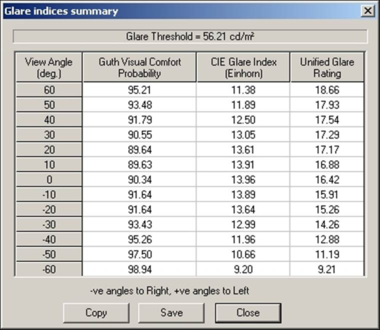
This displays a window showing the “GUTH Visual Comfort Probability” (% of people who would be satisfied) and the “CIE Glare Index” for the analysed glare angles (-ve angles to right, +ve angles to left). The default glare angles are -60 to +60 degrees in steps of 10 degrees.
Analyse Glare
By default, glare is not automatically analysed (unlike previous versions). Automatically analysing glare can have a significant overhead associated with, particularly when the simulation includes electric lighting. This option is now under the control of the user who can analyse the glare if they wish by selecting this option.
The status bar at the bottom of picture viewer window shows the “Glare threshold” for a luminance image (this is the default value calculated as 7 times the average luminance).
Re-Analyse Glare
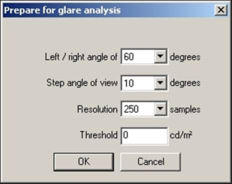
This allows the user to modify the glare parameters and repeat the glare analysis. When the glare threshold is set to “0” the program will calculate the threshold as 7 times the average luminance.
Exposure
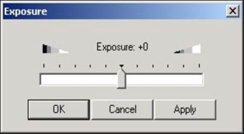
The exposure can be adjusted from –5 (under exposed) to +5 (over exposed):
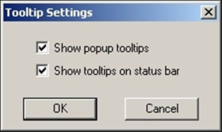
Tooltip Settings
The user can choose to view or hide the tooltips using the pop-up window provided.