You designate a room to be served with HVR by assigning it to the appropriate unit group in the Monodraught HVR® navigator – this can be done by any of the standard methods (e.g. using the button above the room browser, or by using the Room Groups tab within Tabular Room Data in ModelIT).
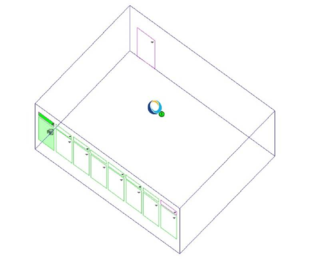
Once a room is assigned to an active unit group (i.e. a group other than No HVR Assigned), the room will display a Monodraught logo in the viewport (as well as highlighting which of the openings are attached to the HVR within that room) whenever the Monodraught HVR® grouping scheme is active in the room browser. The logo will also display a small circle overlay at the bottom-right, indicating the number of HVR units being represented in that room:
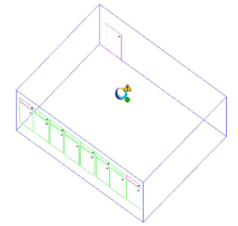
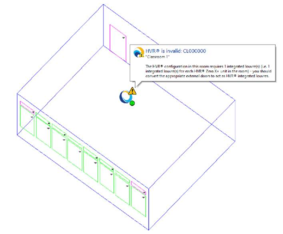
If a problem is detected with the room set-up (e.g. there was no valid louvre to attach to the HVR unit), then an exclamation mark overlay will be displayed at the top-right of the Monodraught logo – if you hover over the exclamation mark with the select tool ( ) active, a balloon tip will be displayed to indicate the problem with the room. For example:
To correct this scenario, you must set the appropriate number of external doors to act as HVR Integrated Louvres. You can either:
- Edit the opening types of some of the doors in the room (see Editing HVR Opening Types), or:
- Use the Ensure that all rooms assigned to HVR® systems are valid navigator action. This will go through all assigned rooms that are currently marked with an exclamation mark and attempt to correct them.
Note that the presence of the exclamation mark does not indicate that the model cannot be simulated – it simply indicates a problem with the HVR set-up in that room, which may result in inaccurate HVR simulation results.